Avoid Drawing Fails And ‘Become Talented’ With Arch Drawing Theory And Practice
…dozens of hours of disappointment and wasted effort
…blood, sweat and tears while focused on the WRONG things
…overall stagnation on your journey of arch drawing and design mastery.
Why do you absolutely need to understand Architectural Drawing Theory and Practice?
Most students of drawing are either too caught up in being theory junkies (reading up on dozens of of articles, filling up catalogues with hundreds of pictures as reference material they will never use)
Or are just too enthusiastic about drawing and jump right in and hope things work out on the way there (they usually don’t)
So after three months with zero to minimum results most students of arch drawing quit and tell themselves the same old story of them ‘not being talented enough’.
But you are not most students and you will avoid all of that winghilst do the correct things that will help you become better at drawing and architecture.
What are theory and practice for architectural drawing?
Theory is the intellectual understanding, the concepts, the logical knowledge that goes beyond the apparent visual-level and underlines principles of drawing, design and mindset. These principles work 99% of times and have various application through all of the different topics of arch drawing and design.
Theory is the intellectual part: ideas, concepts and understandings that you need to learn at an intellectual level (even if this doesn’t ‘feel right’ or ‘you don’t like hearing this type of stuff’).
Practice is the consistent application of these principles (and mostly negatively affected by the amount of the laziness of each student)
Yes, it’s about putting in the hours – and that’s doing the exercises, getting the reference experience AND (most importantly) getting to the area where you can apply your own ideas and concepts.
It’s about getting you the right foundation and skills and then getting the most out of architectural drawing and design (which I assume is somewhere in the ‘get your own drawing style’, ‘mastering drawing’, ‘getting your own ideas out there’ zone)
Let’s get started…
**Note: for this lesson you will need a 2B pencil and A4 paper in order to take notes.**
We will be tackling two different subjects in theory and in practice and you need to promise me you’ll go through them as many times as you need to until they stick.
When they do, you’re free to use them however you want for the rest of your design career and your life…
Until you get them you can’t go to the other interesting areas of drawing (what is the point of thinking of abstract compositions if you don’t understand simple perspective or how to draw a simple cube or pyramid)
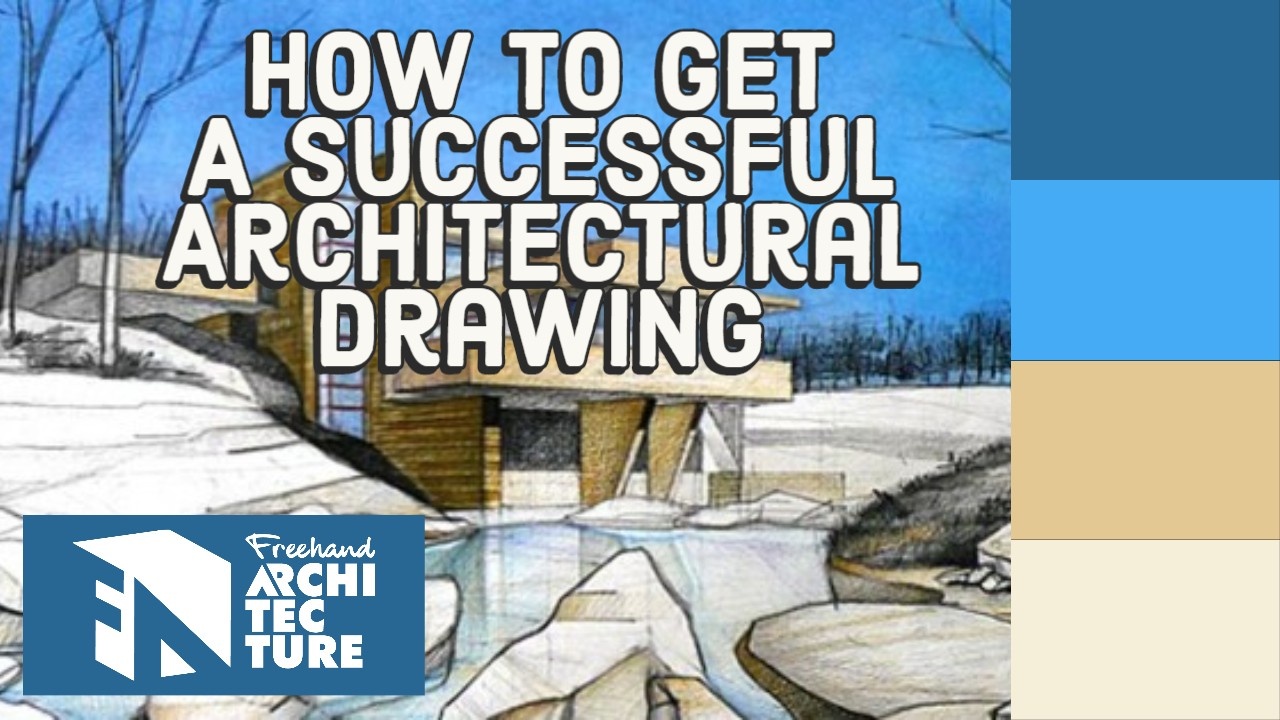
So we will be looking at drawing and design a modern house and at drawing doric and ionic capitols.
Theory Learn To Draw A Modern House Step By Step
Big surprise, you need to learn how to draw a modern house (on a website about architectural drawing and design – I know, big surprise there!!!)
► Key Points:
– Lift your modern house one meter from the ground (or roughly five steps).
– Use a maximum of three materials when designing a standard house
– Mark the entranceway with a canopy so the entrance is easy to read
– Focus first on applying these three principles (no shortcuts allowed!) and then go for more creativity and modifying the general idea of the house towards your own concept.
Draw A House Perspective Sketch
Ok, let’s apply those principles and now draw a house perspective by our selves. You probably noticed that architecture is particularly complicated to draw as it is really easy to slip into ‘weird stuff’ that ruins you whole drawing.
► Key Points:
– Think by drawing lines – don’t try to get over-analytical so you find the ‘best idea possible’ but focus on improvising.
– Use the ‘color jump theory’ – you need to get color all over the drawing
– Use thicker lines for getting a clearer design idea, your drawing needs to look good from a distance of 6 meters, 3 meters, 1.5 meters
Doric Columns, Ionic Columns, Corinthian Columns (Classical Architecture And Architectural Columns)
https://www.youtube.com/v/NR7mhrWFtN0
►Key Points:
– Doric columns are the most basic and more ore less represent a simple capital, their characteristic is a basic cylinder + box fitting with minimum detailing.
– Ionic columns have an ample amount of decoration and their key characteristic is the volutes on both sides.
– Corinthian capitals feature a lot of ornamentation and volues variations. Their characteristic is accanthus leaves (in three rows)
Doric Columns And Ionic Columns – How To Draw Greek Temple Architectural Columns
►Key Points:
– Start off by deciding where to place the horizon line – this way you will have a clear idea of how to construct the perspective.
– Vary your line weights for the circular elements as well as for contouring all the details of each of the classical orders
– Re-thicken the contour lines after hatching the shadows and background
**BONUS LESSONS**
Here are a couple of extra pieces of content that will help you give your work that extra edge…
Linear Perspective – Common Two Point Perspective Drawing Mistakes
https://www.youtube.com/v/tw8d41ue3Ec
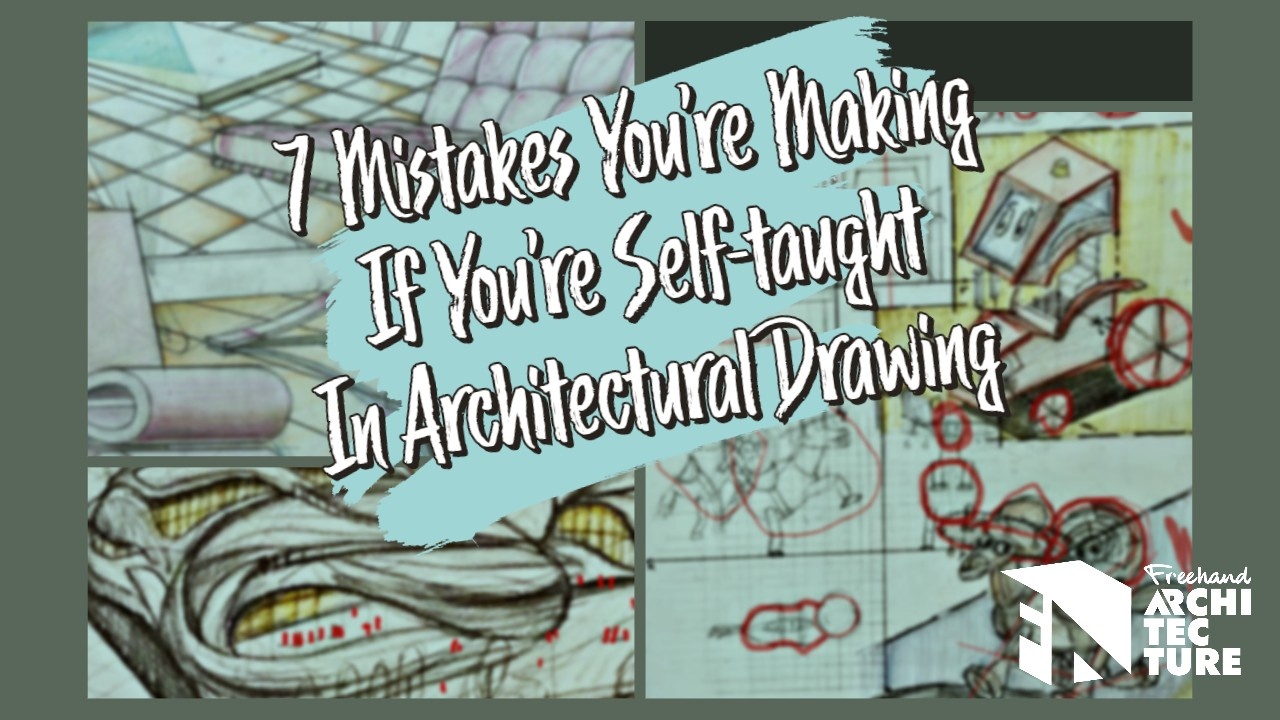
All you drawings are looking ‘weird’ and you don’t really know why that is? 99% chance there’s a few perspective mistakes in there that ruin all the effort you’ve pun into your work. Watch the video to the end make sure to take notes.
Perspective mistakes are a side effect of your learning curve in arch drawing, so don’t stress over this too much. Bottom line, you can’t avoid them – and it’s better for you that you don’t as they are invaluebale learning experiences that will boost all your arch drawings.
We will be covering:
– what perspective mistakes are and how to avoid them
– basic perspective mistakes that flat out ruin your work
– many many examples of good drawings ‘gone bad’ i.e. architecture drawings with perspective mistakes
Architecture Drawing Perspective Mistakes
► Key Points:
– Accept the harsh reality of perspective mistakes (something 99% of architects out there won’t ever do – that’ why their drawings are mediocre at best)
– Use the ‘page flip technique’ to scan for different perspective mistakes.
– Get used to scanning for perspective mistakes all the time and correcting them on the spot.
Time to take your drawing skills to the next level - both technical and freehand. The easiest way to do that is to join my free 5-day course here. You will get a lesson/day and can also send me your work for personalised feedback. Sounds good? : )

