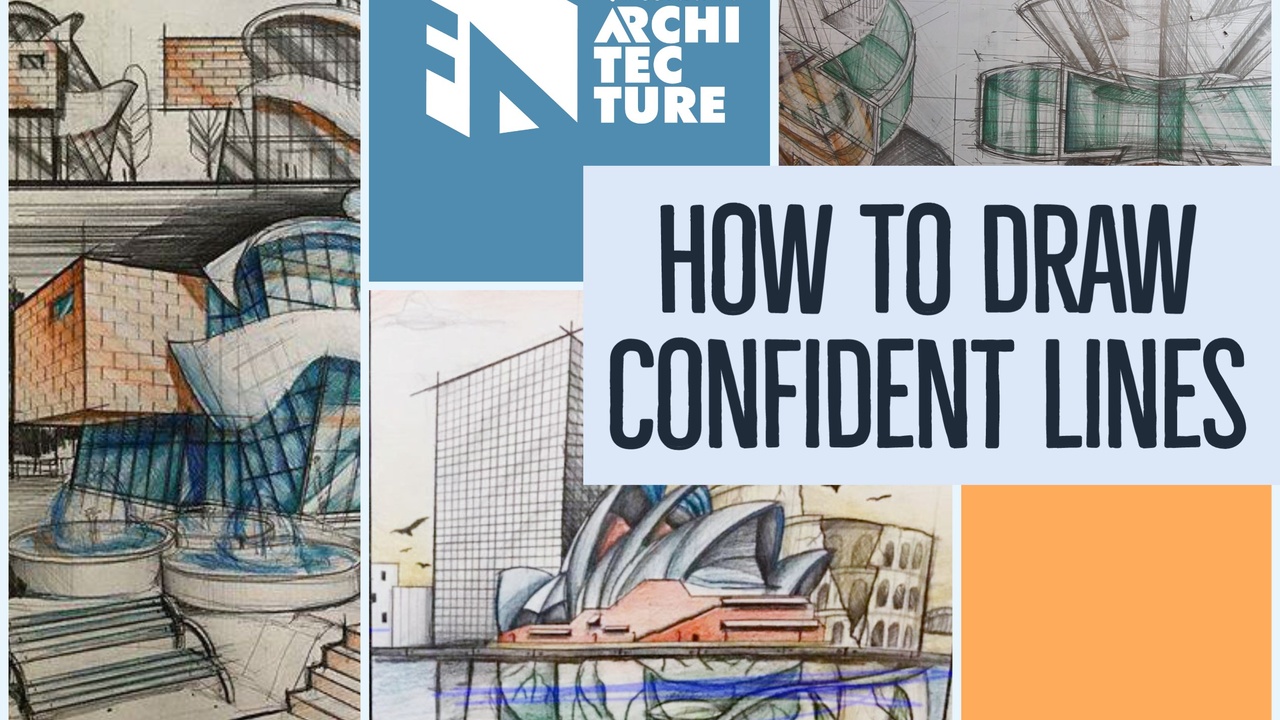
How To Draw Confident Lines
‘Michael, what technique can I use to instantly start having a precise line drawing like you have?’
Right, so let me translate this in ‘normal terms’.
What this means is that you expect a secret ‘trick’ when starting a new drawing…
to not have to ever deal with crooked, awkward lines…
(which come across as you don’t have a clue about architectural drawing)
but just apply a ‘secret’ drawing technique which will get you the line drawing of someone with 1000 hours of drawing practice…
So why do you need to know this?
9 times out of then this has happened to you as well (it’s ok, you don’t have to openly admit it!) and not having a confident line drawing has hindered your progress in drawing…
You’ve stopped yourself from following through with a drawing just because ‘ the lines are all crooked’
or
You’re constantly drawing with a ruler… attempting to ‘hide’ the fact that you got a rubbish line drawing.
or
You’ve skipped freehand drawing altogether and consider yourself a ‘technical person’…
Maybe you fit one of the descriptions, maybe you fit all of them…
So, what action steps can you actually take to get thing in the right direction?
1. Stop The Self-criticizing
No really, stop being your own worst enemy by being extra critical of your own work.
This is what I always tell my students – I’m the only one allowed to criticise you!
And yeah I will kick your ass once in a while when you start getting cocky and think you’re above the game…
Or happen to make stupid, eight grade type mistakes and then decide ‘this drawing thing doesn’t work, I am not talented enough’
But other than that… no
You won’t ever hear any negative or harsh criticism..
So if I don’t criticise you (and trust me I’ve had my fair share of student mistakes over the years)… why in the world would you criticise yourself?

2.First Draw The Construction + Contour Lines
Yeah, maybe sometimes just jumping in into hatching isn’t the best approach…
I know a preach you drawing as fast and efficiently as possible so you get more work done…
But sometimes you need to slow down, pause and contemplate the general direction of your drawing…
Is the lien drawing thick enough so you can color over it? (most students get a great looking line drawing that is too sensitive and when they hatch they mess their drawings up and end up in the poor me category again.
Do you have a line hierarchy going?
You know… with clear construction, contour and thick lines?
Or is your drawing boring stale and scared….
And most importantly are your drawing LARGE enough?
I mean literally if you have to sketch an A4 sketch… does it fit a complete A4… or is it just
1/5 of the sheet of paper?!
Oh come on…
Imagine the waste of paper!
Your drawing always need to be as large as the sheet of paper, or else they’re too small and obviously you can’t go into sufficient detail as possible!

3.Do ‘Accents’ With Your Line Drawing
This is actually a technique I don’t use in my drawing as much as I used to…
that’s because I prefer to give accents from hatching alone… without having to do the ‘sensitive lines’ thing.
But you know what?! For you (who are developing your drawing style at the moment)… drawing those sensitive lines can be the best thing out there!
So, remember – to apply this technique you constantly need to make your line intensity vary with all your perspectives – the closer the object or edge, the darker the line… the further away it goes into perspective, the more it starts fading out and looking paler and paler.
One application of this is drawing ellipses – when you draw an ellipse you need to vary you line intensity just to point out the curvature of the certain object.
Cool, I take it by now your imagination is already flowing with ideas on how to apply these principles…
So the best thing you could do is start applying these ideas right now… literally go grab an A4 piece of paper from your printer and just start drawing.
Or better yet…
Grab that one drawing which you know could be better and work on that – apply all the techniques and snap a before and after pic to see the progress.
Take care and draw nicely!
M.